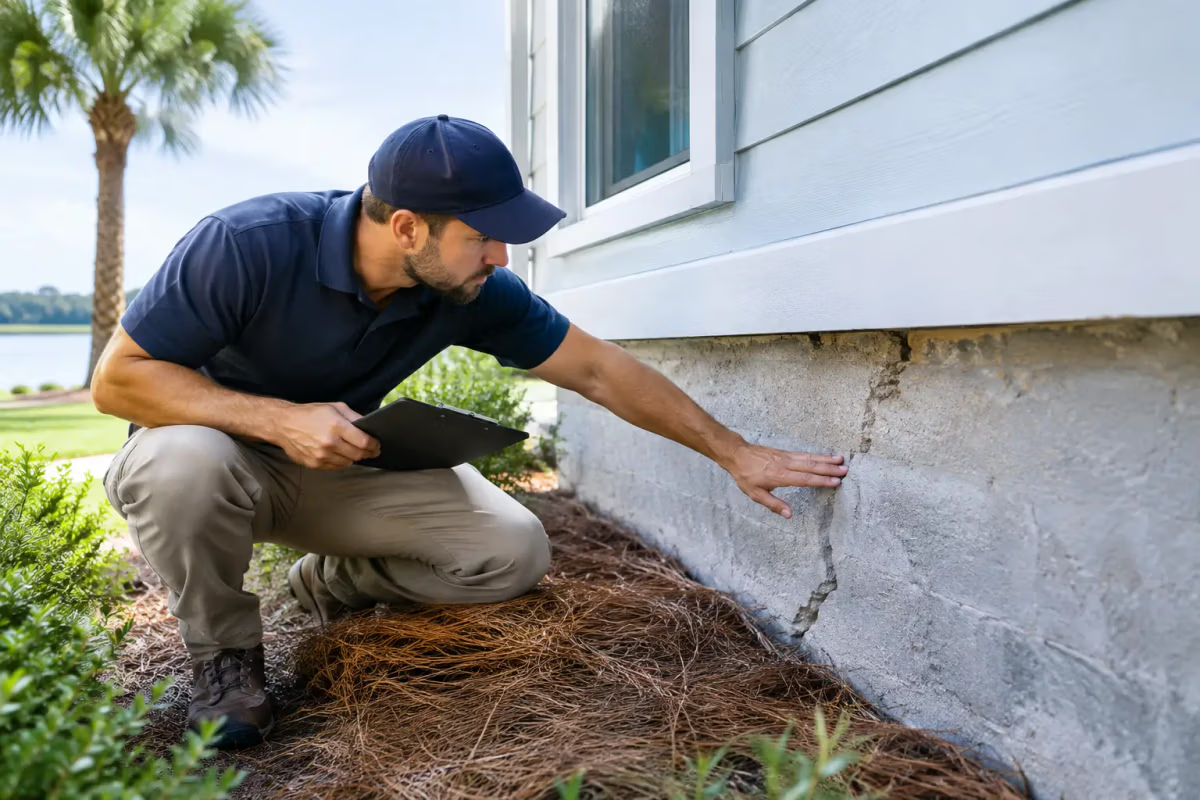
A contract deadline can arrive faster than expected, especially when you are coordinating lenders, insurance requirements, moving plans, and repair negotiations at the same time. This homebuyer inspection timeline guide helps Northeast Florida buyers use the inspection period wisely, get the right answers early, and keep their purchase decisions grounded in real results.
The exact schedule depends on your contract, property type, and lender or insurance requirements. Still, the strongest approach is consistent: schedule promptly, attend when possible, review reports quickly, and leave enough time to respond before your inspection contingency expires.
Before You Make an Offer: Know What May Be Needed
Inspection planning begins before the contract is signed. In Jacksonville, St. Augustine, and surrounding Northeast Florida communities, a standard home inspection is often the starting point, not the full picture. A property’s age, water source, roof condition, pool, HVAC equipment, and location can all point to additional services worth arranging.
For example, a home with a pool may need a pool and spa inspection. Older homes or homes with visible staining, musty odors, or prior water intrusion may warrant mold testing and indoor air quality evaluation. If the property is on a private well, water-quality sampling can help identify concerns that a visual inspection cannot confirm. Radon testing, WDO inspections, and insurance reports may also be appropriate depending on the property and transaction.
Ask your real estate professional what deadlines apply and whether your insurer has specific documentation requirements. A 4-point inspection, wind-mitigation inspection, or roof certification may affect insurance eligibility or pricing, particularly for older Florida homes. Knowing this before you write an offer can prevent a last-minute scramble.
Days 0-2: Schedule Inspections Immediately After Acceptance
Once your offer is accepted, schedule the inspection appointment as soon as possible. Do not wait until the end of a typical 7- to 15-day inspection period. Inspection companies may need time to coordinate specialized testing, and laboratories may require additional time to process mold, air, or water samples.
Early scheduling gives you options. If an initial inspection identifies a concern that needs further review by a licensed contractor, roofer, electrician, HVAC professional, engineer, or plumber, you still have time to arrange that evaluation before your contractual deadline.
A one stop shop appointment can make this stage far easier. Rather than coordinating several providers and access times, buyers can combine a comprehensive home inspection with appropriate services such as WDO, radon, mold, water, pool, or insurance inspections. House Authority Inspection Service can coordinate these services in one appointment, reducing delays while giving buyers a more complete view of the property.
If you are buying from out of state or relocating on military orders, confirm that the inspector can access the listed property and provide thorough photos and clear explanations. Detailed visual documentation matters when you cannot be onsite.
Days 3-5: Attend the Inspection and Ask Practical Questions
The inspection appointment is your opportunity to understand the home beyond the listing photos and seller disclosures. A comprehensive inspection generally evaluates readily accessible structural components, roofing, exterior features, plumbing, electrical systems, heating and cooling equipment, interiors, insulation, ventilation, and visible safety issues.
Plan to attend the final portion of the appointment if possible. You do not need to follow the inspector through every step, and doing so can slow the work. A final walkthrough conversation is often the most useful time to discuss major findings, maintenance priorities, and any limitations caused by locked rooms, stored belongings, weather, or inaccessible areas.
Focus your questions on consequences and next steps. Is the issue a safety concern? Does it require immediate repair? Is additional evaluation needed? Could it affect insurance, financing, or the home’s ability to function as expected? An experienced inspector can explain what was observed, but should not pressure you to buy or walk away from the property. The decision remains yours.
Days 4-7: Review the Report With Your Contract Deadline in Mind
A same-day report helps keep the transaction moving. Review it carefully as soon as it arrives, ideally with your real estate professional. Good reports document findings with photographs, identify the location of concerns, and distinguish between maintenance items, defects, safety issues, and conditions that need further evaluation.
Do not judge the house by the number of report items alone. Even well-maintained homes have maintenance needs. The more useful question is whether the findings change the property’s value, safety, insurability, or your willingness to take on the work.
Pay particular attention to active leaks, moisture intrusion, electrical hazards, roof condition, damaged structural components, evidence of wood-destroying organisms, unsafe pool barriers, aging HVAC systems, and drainage issues. In Northeast Florida, humidity, storms, termites, and roof wear can create risks that deserve prompt attention.
Specialized test results may arrive after the visual report. Build this into your schedule. Mold, indoor air quality, water, and radon testing can provide valuable information, but they are not instant. Your inspection period should allow enough time to receive results and determine whether follow-up action is needed.
Days 6-10: Obtain Estimates and Decide What to Request
Once you understand the findings, decide which items are material to your purchase. This is where buyers can lose time by requesting estimates for every minor repair. Prioritize health and safety concerns, active damage, major system failures, insurance obstacles, and conditions that could create significant expense soon after closing.
Your options usually include requesting repairs, asking for a credit, renegotiating the price, accepting the home as-is, or exercising an inspection contingency if the contract allows. The best path depends on the local market, the seller’s willingness, the size of the concern, and your plans for the property.
Repair requests have trade-offs. A seller may agree to make the repair but choose the lowest-cost provider. A credit gives you more control after closing, but you need the cash and time to manage the work yourself. For substantial concerns, consult qualified specialists and obtain written estimates before making a decision.
Days 10-14: Finalize Agreements and Confirm Insurance Needs
If the seller agrees to repairs or credits, make sure the agreement is documented through the proper contract process. Verbal assurances are not enough. Review what is being repaired, who is completing the work, and what proof will be provided.
This is also the time to keep your insurance agent informed. A roof, electrical panel, plumbing system, or water heater may affect underwriting. Wind-mitigation documentation can sometimes support premium savings, while a 4-point inspection may be required for coverage on an older home. Requirements differ by carrier, so do not assume one report replaces another.
If a repair is completed before closing, ask for invoices, permits when applicable, warranties, and receipts. Depending on the scope of work, a reinspection may be worthwhile to confirm that the visible condition addressed in the agreement has been corrected.
The Final Week Before Closing: Keep the Inspection Useful
Your inspection report remains valuable after negotiations end. Use it to build a first-year home maintenance plan. Schedule recommended servicing, budget for aging components, and retain test results and insurance reports with your closing documents.
At the final walkthrough, look for changes since the inspection: new damage, incomplete agreed-upon repairs, missing appliances or fixtures, or a system that no longer operates as it did during the inspection. This is not a second full inspection, but it is your last practical opportunity to raise concerns before closing.
A home inspection cannot predict every future repair or see behind walls, beneath flooring, or inside inaccessible areas. What it can do is replace assumptions with informed decisions. Schedule early, allow time for specialized testing and follow-up, and use the findings to choose a home with clearer eyes and greater confidence.